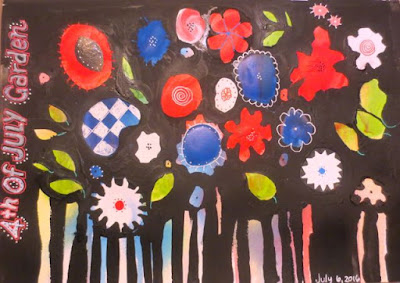
8/3/16 Gelli Plate workshop:
The class will be held 10:30-2:30 at the Manitowish Waters, WI Community Center on Hwy 51. Class is free for members of MAL and $10 for non members.
You must contact me to reserve a place in the class before August 1.
ginny.stiles@gmail.com or 715-588-2326
Bring $ on the day of the class.
Please go to gelliarts.com and watch the first demo video so you know a little about what will be covered in this workshop!
The plate and brayer can be purchased at dickblick.com
You will need to get your order in by July 22 to be sure of delivery in time.
(amazon.com probably carries them too.)
✔ An 8 x 10 or 6 x 6 Gelli Plate
and a 3” soft rubber brayer.*
✔ An assortment of colors of Acrylic paint (decorative paint from WalMart or Michaels is fine)
(be sure to bring white & black)
Any good soft body or fluid acrylic is good. If you have glazing medium to add to professional grade acrylic or a “retarder” to help the paint stay wet that is helpful but optional.
✔ 20-25 sheets of copy paper
note: you can recycle paper that you have such as advertising papers or overruns from you printer.
*dickblick.com
I also have a recipe for a home made gelatin plate from Karen Gleisner. See below.
I frankly am not much for the home made ones for two reasons: one they do not last very long and second, they are not ALL that much less expensive to make than to buy! BUT if you would like to try one, I am including the recipe. Folks often use 9 x 13 pans for this and you must remember to have them perfect level when you let them set up. Please note that you do not put the gelatin into hot water like regular gelatin. You add the boiling water AFTER the gelatin is dissolved in cold water.
Texture Tools:
Tops of things work nicely for circles…Wine corks,
small jar lids,
larger drinking straws,
bubble wrap,
plastic shelf liner, plastic
small yogurt cups,
10" pieces of string, yarn, thread or ribbon,
plastic spoons, palette knives, toilet paper tubes, small paper cups,
flat rubber jar lids.
You can press leaves for a few days and use them. Also small feathers work.
Small soft sponges of a variety of shapes or cut into shapes.
Triangular make up sponges (highly suggested!)
old credit cards
netting from fruit bags
plastic canvas
saran wrap,
old marker caps
potato mashers
sponge rollers,
drink lids
Q-tips
stencils of all kinds are great
rubber stamps (self made are the best): I will demo this in class.
Old toothbrush
Important things to bring:
✔ A waterproof covering for a table
✔ 2 Large plastic white garbage bags, one to tape to the table for your waste paper one for under your plate.
✔ cottage cheese or yogurt container for water
✔ 15-20 sheets of thin waxed deli paper
(I will have some of these to share if you don’t have any)
✔ a roll of paper towels
✔ a cheap pkg of baby wipes
✔ A small container of rubbing alcohol for clean up.
✔ 5-6 sheets of newspaper
✔ glue stick
✔ scissors
✔ hand cream or thin plastic gloves
✔ Elmer’s White Glue or gel medium and an old brush
✔ Lunch
Karen's homemade gelli plate recipe.
Make Your Own Gelatin Monoprint Plate
You will need a non stick container with a smooth bottom for your mold. I used a mold for making mosaic stepping stones, they come in different sizes. Measure for how much liquid you need to fill 3/4 to 1 inch thick. Adjust the following recipe to your mold size.
2C. Cold water
Sprinkle with….
8 packages Knox gelatin
until dissolved. Then add…..
2C. Boiling water
Mix well. Gently stir in…..
8oz. Glycerine
Pour into your mold, touch any bubbles to get rid of them.
Let the gelatin set up in the refrigerator until firm. Carefully unmold.
You can remold by melting the plate in the microwave and pouring again.
Karen Gleisner


